Hey guys it’s Hina from Rebalance Physical Therapy! Today I wanted to give you guys a quick tip on how to make an icepack at home that is economical and reusable.
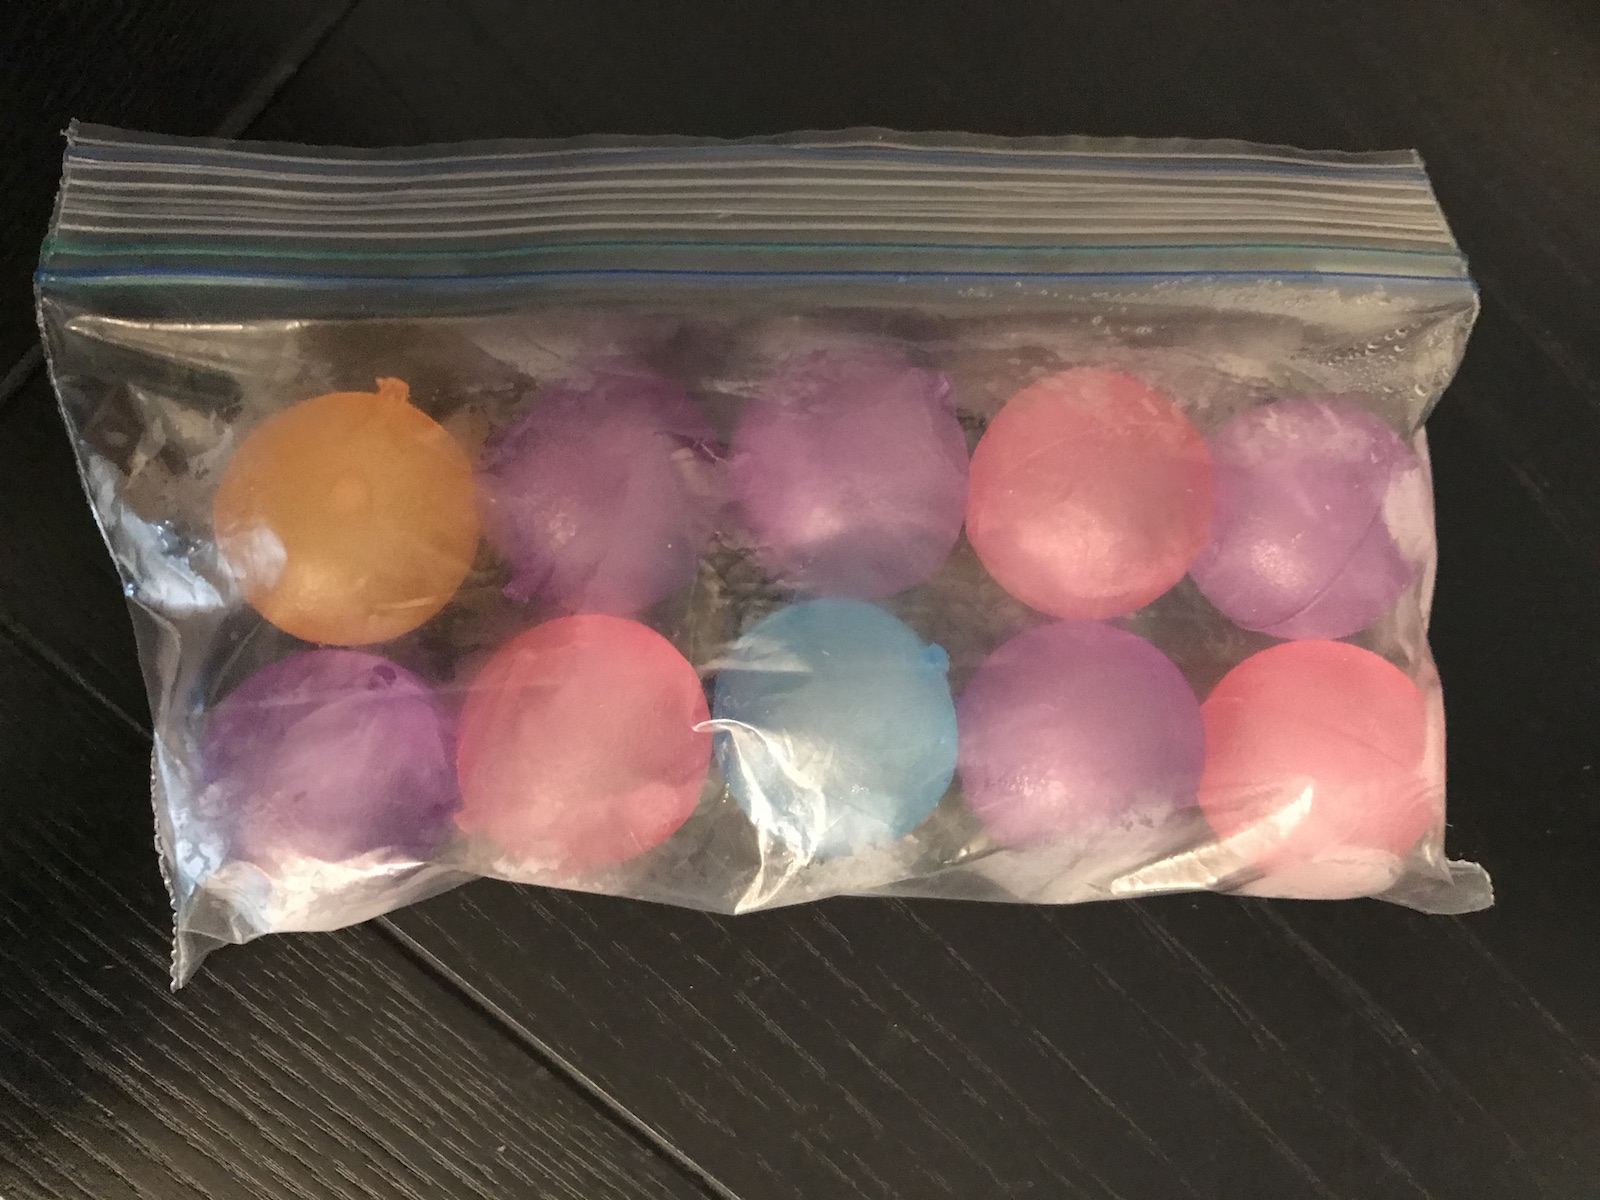
To start, you’ll need reusable ice cubes. They come in different shapes and sizes and they are basically little plastic containers filled with water. They’re typically used to keep you drink cold, but I’ve found they make amazing ice packs.
To make your own ice pack, fill a zip lock bag with the ice cubes and remove the air from the bag.
These bags are great because they can conform to any part of your body (unlike traditional ice packs). And unlike regular ice cubes, these won’t drip if there’s a hole in the bag.
These typically last for about 30 minutes and when you’re done just put it back in the freezer for next time! You can stick them in different size zip lock bags – the smaller size bags for the wrist, ankle or the perineal area.
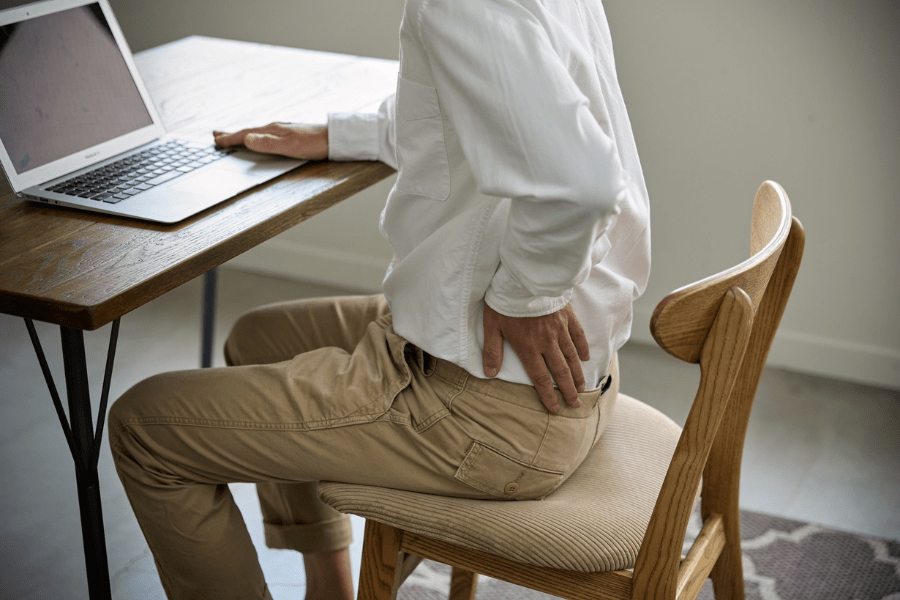
Need to be evaluated for an injury you’re icing?
It’s important to be evaluated by a holistic, integrative physical therapist who can treat your whole body to determine the issue and what can be done about it. To visit us at Rebalance, you can schedule a complimentary phone consultation to discuss your symptoms here.